Basic G-Codes Explained with Examples
G-code, short for “Geometric Code,” is the standard programming language used to control Computer Numerical Control (CNC) machines, such as mills, lathes, routers, and even 3D printers. Developed in the 1950s and standardized as RS-274 (now ISO 6983), it provides precise instructions for tool movement, speed, and machine functions. While modern CAD/CAM software often generates G-code automatically, understanding the basics allows machinists to edit programs, troubleshoot issues, and write simple code manually for greater control and efficiency.
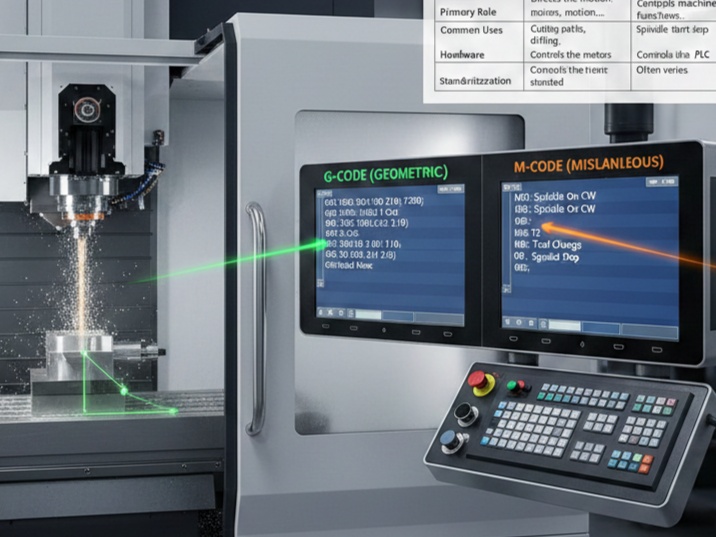
A G-code program consists of blocks (lines of code), each containing words like commands (e.g., G01) and parameters (e.g., X10.0 Y5.0). Commands are modal (they remain active until changed) or non-modal (one-time only). G-codes primarily handle motion and geometry, while M-codes manage miscellaneous functions like spindle control.
CNC machines operate in a Cartesian coordinate system, where axes are labeled X, Y, Z (linear) and sometimes A, B, C (rotary). The standard right-hand rule applies: positive directions follow thumb (X), index (Y), middle finger (Z).
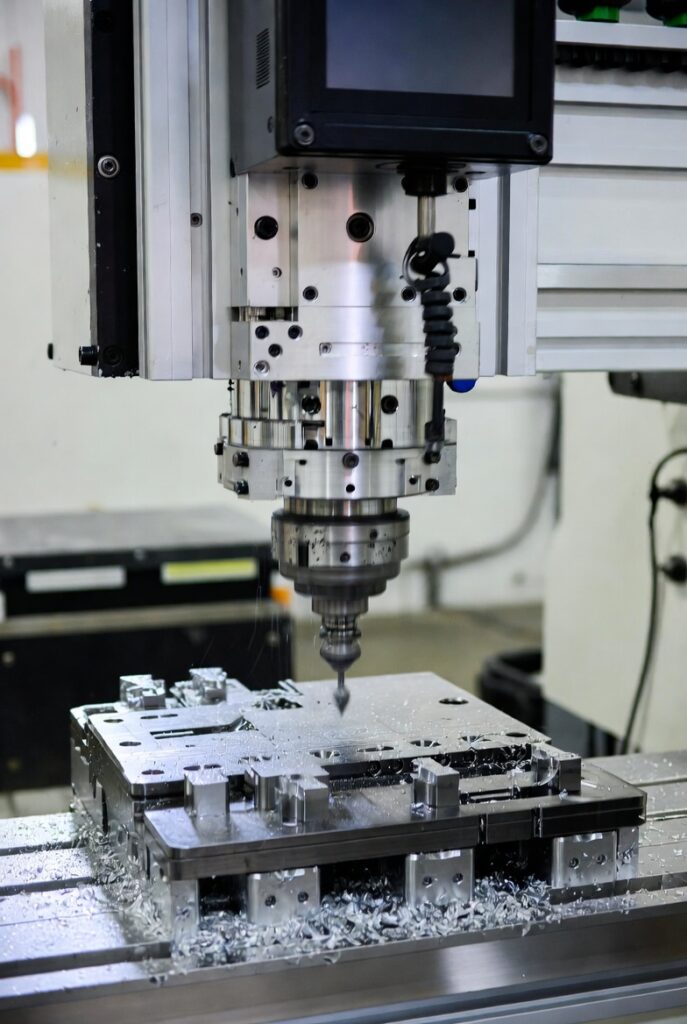
Here’s a typical CNC milling operation in action:
Structure of a G-Code Program
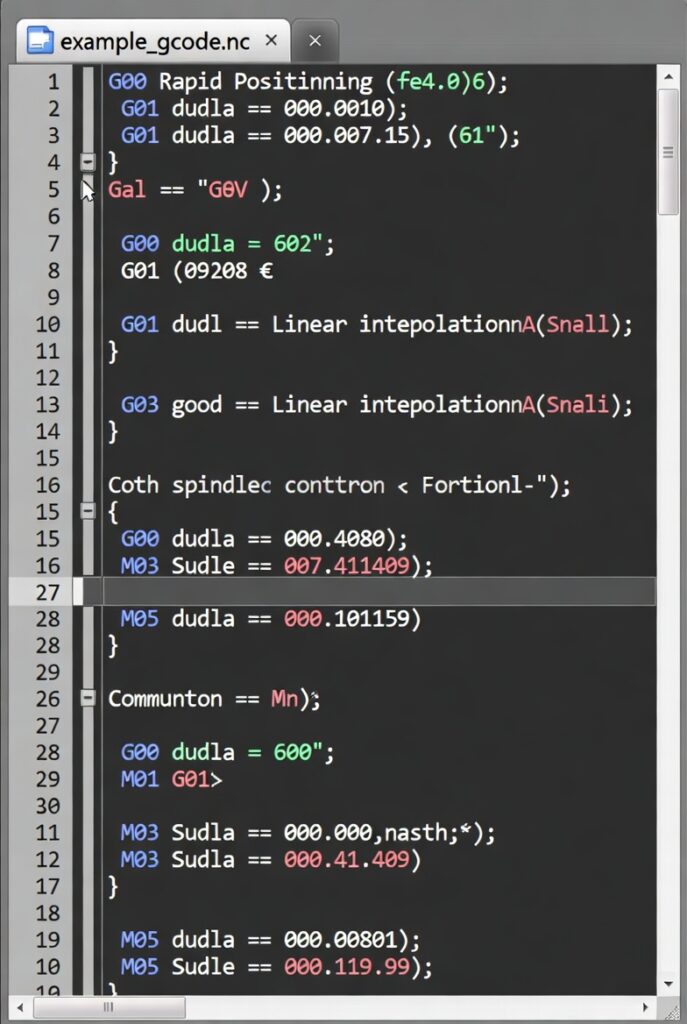
A basic program starts with setup commands, moves the tool, performs operations, and ends safely. Comments are added in parentheses or after semicolons.
Example screenshot of a simple G-code program:
Typical structure:
- Program start (Oxxxx or %)
- Units and modes (G20/G21, G90/G91)
- Work offsets (G54-G59)
- Tool change (Txx M06)
- Motion commands
- Program end (M30)
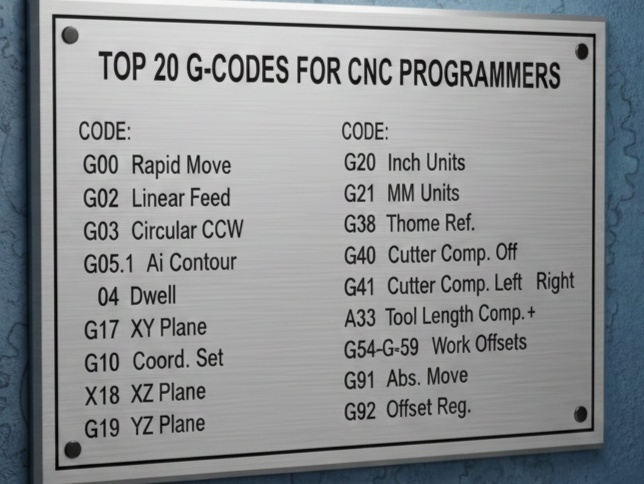
Most Common Basic G-Codes
Here are the essential G-codes every beginner should know, with descriptions, syntax, and examples. These are standardized across most controllers (e.g., Fanuc, Haas, LinuxCNC), though minor variations exist—always check your machine’s manual.
Units and Positioning Modes
- G20: Inches units
Example:G20(All subsequent values in inches) - G21: Millimeters units (most common)
Example:G21(All subsequent values in mm) - G90: Absolute positioning (coordinates from origin)
Example:G90 X50.0 Y30.0(Move to absolute position X50, Y30) - G91: Incremental positioning (coordinates relative to current position)
Example:G91 X10.0(Move +10 from current X)
Best practice: Use G21 and G90 for most programs to avoid errors.
Plane Selection
- G17: XY plane (default for milling)
- G18: XZ plane
- G19: YZ plane
Example:G17 G02 X... Y... I... J...(Clockwise arc in XY)
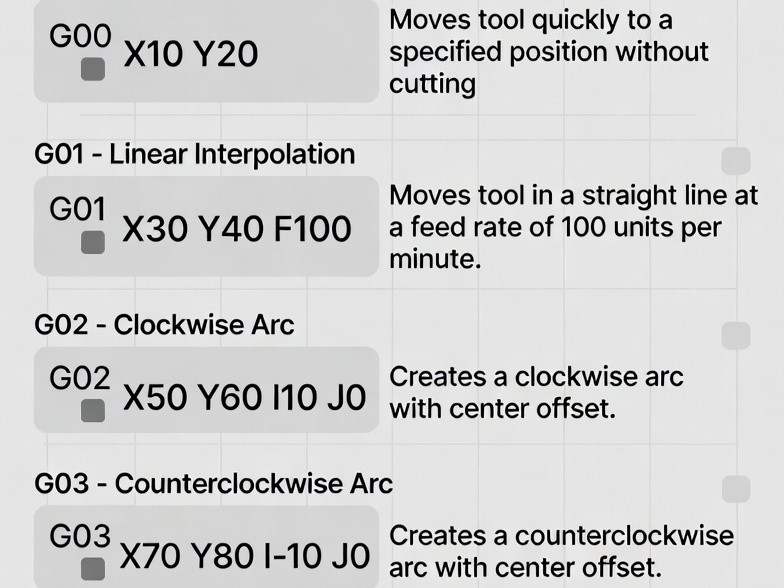
Motion Commands (Core of G-Code)
These define how the tool moves.
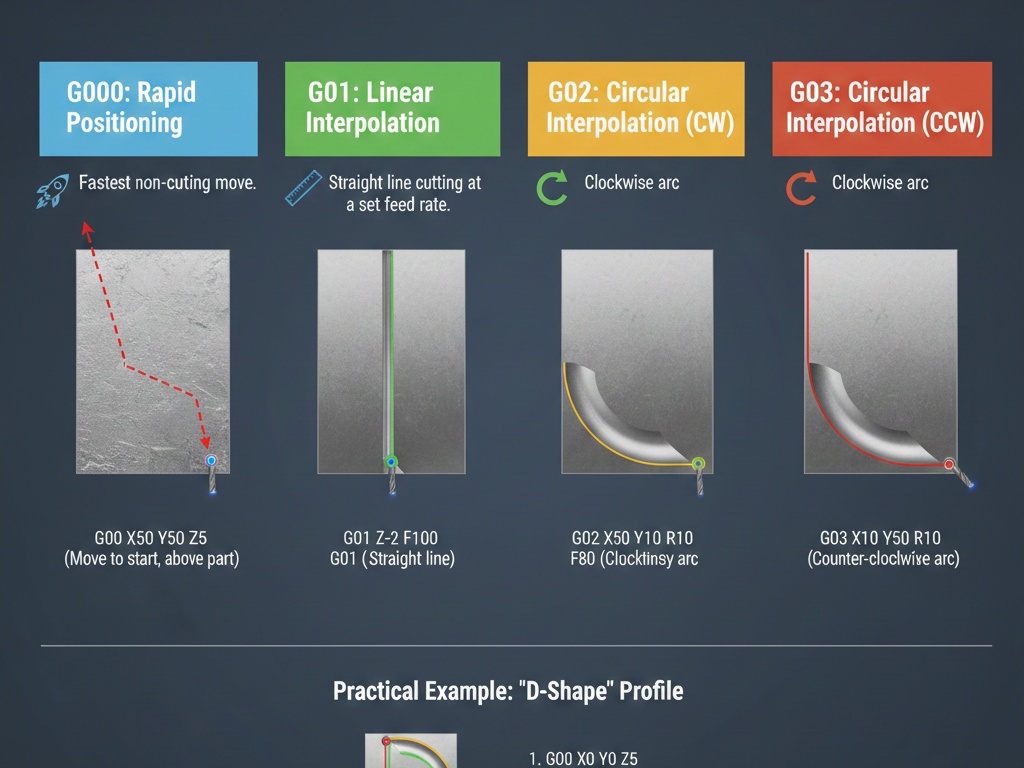
- G00: Rapid positioning (fastest speed, no cutting)
Used for safe travels.
Example:G00 X0 Y0 Z5.0(Rapid to X0, Y0, Z5 above workpiece)
Caution: Avoid crashing—clear obstacles. - G01: Linear interpolation (straight cut at feed rate)
Requires F (feed rate).
Example:G01 X100.0 Y50.0 Z-5.0 F500(Cut straight to position at 500 mm/min) - G02: Clockwise circular interpolation (arc)
- G03: Counter-clockwise circular interpolation
Use R (radius) for simple arcs or I/J/K (center offsets).
Example (R method):G02 X50.0 Y0 I0 J-25.0 F300(Clockwise arc, center offset J-25)
Example (full circle):G02 I10.0(Clockwise full circle, radius 10 from current position)
Coordinate Systems and Offsets
- G54-G59: Work coordinate systems (offsets for fixtures)
G54 is default. Set via control panel or G10.
Example:G54(Use first workpiece offset) - G53: Machine coordinates (non-modal, bypass offsets)
Example:G53 G00 Z0(Rapid to machine home in Z)
Compensation and Canned Cycles
- G40: Cancel cutter radius compensation
- G41: Cutter compensation left
- G42: Cutter compensation right
Example:G41 D1(Compensate left using tool diameter in offset D1)
Canned cycles simplify repetitive operations like drilling:
- G81: Drilling cycle
Example:G81 Z-10.0 R2.0 F200(Drill to Z-10, retract to R2) - G80: Cancel canned cycle
Other Useful Basics
- G04: Dwell (pause)
Example:G04 P1.0(Pause 1 second) - G28: Return to reference position (home)
Example:G28 G91 Z0(Incremental home in Z)
Feed Rate and Spindle (Supporting Words)
- F: Feed rate (mm/min or in/min)
Example:F1000(Set 1000 units/min) - S: Spindle speed (RPM)
Example:S5000(5000 RPM)
M-codes (miscellaneous) often pair with these:
- M03: Spindle on clockwise
- M04: Spindle on counter-clockwise
- M05: Spindle stop
- M06: Tool change
- M08/M09: Coolant on/off
- M30: Program end and rewind
Full Example Program: Milling a Simple Square Pocket
Here’s a complete beginner program to mill a 50x50mm square pocket, 5mm deep, using a 10mm end mill. Assumes tool at home, workpiece zero at top-left corner.
%
O1000 (SIMPLE SQUARE POCKET)
G21 G17 G90 (MM, XY PLANE, ABSOLUTE)
G54 (WORK OFFSET)
T1 M06 (TOOL CHANGE TO TOOL 1)
S8000 M03 (SPINDLE 8000 RPM CW)
G00 X-5.0 Y-5.0 Z10.0 (RAPID TO START ABOVE PART)
G00 Z5.0 (RAPID DOWN TO CLEARANCE)
F500 (SET FEED RATE)

(Roughing pass)
G01 Z-5.0 (PLUNGE TO DEPTH)
G01 X55.0 (CUT RIGHT SIDE)
G01 Y55.0 (CUT TOP)
G01 X-5.0 (CUT LEFT)
G01 Y-5.0 (CUT BOTTOM)
G01 X0 Y0 (RETURN TO CENTER)

G00 Z10.0 (RAPID UP)
M05 (SPINDLE STOP)
G00 X0 Y0 Z50.0 (SAFE POSITION)
G28 Z0 (HOME Z)
M30 (END PROGRAM)
%
This ~25-line program demonstrates setup, rapid moves, linear cuts, and safe end. In practice, add ramping for entry, multiple depths for deeper pockets, and compensation.
Advanced Tips and Best Practices
- Modal Commands: G01 stays active until G00/G02 etc. replaces it—no need to repeat every line.
- Safety First: Always dry-run programs, use single-block mode, and keep hands on feed hold.
- Editing: Hand-edit CAM-generated code for optimizations like better toolpaths.
- Variations: Haas/Fanuc are similar, but GRBL (for hobby machines) simplifies some.
- Learning More: Simulate with free tools like NC Viewer or CAM software trials.
Understanding these basic G-codes empowers you to read, edit, and write programs confidently. With practice, you’ll produce precise parts efficiently.