How to Make a CNC Program (Step-by-Step Guide)
Creating a CNC program is a fundamental skill for anyone working with CNC milling machines, lathes, or machining centers. A CNC (Computer Numerical Control) program tells the machine what to do, where to move, how fast to move, and what operation to perform. Whether you are a beginner or an intermediate machinist, understanding how to make a CNC program will greatly improve your machining accuracy, productivity, and confidence.
This guide explains how to make a CNC program step by step, from understanding drawings to writing G-code and testing the program.
1. Understand What a CNC Program Is
A CNC program is a set of instructions written mostly in G-codes and M-codes. These instructions control:
- Tool movement (X, Y, Z axes)
- Spindle speed and direction
- Feed rate
- Tool changes
- Coolant on/off
- Program start and end
In simple words, a CNC program is the language used to communicate with a CNC machine.
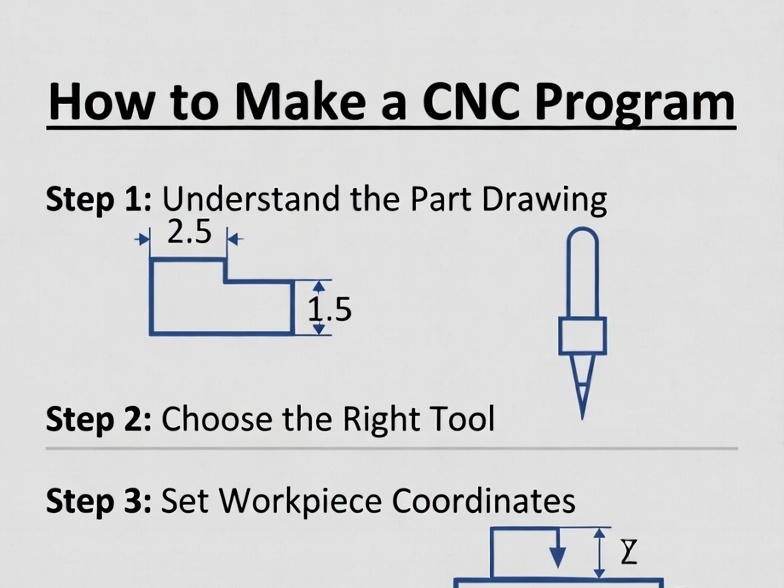
2. Study the Component Drawing Carefully
Before writing any CNC code, you must understand the job drawing. This is the most important step.
Look at the drawing and identify:
- Overall dimensions (length, width, height)
- Shape of the part
- Holes, slots, pockets, contours
- Tolerances
- Surface finish requirements
- Material type (aluminum, steel, brass, etc.)
👉 Tip: Never start programming without fully understanding the drawing. One small mistake can scrap the entire part.
3. Decide the Machining Process
Now plan how the part will be machined.
Ask yourself:
- Is this a milling job or turning job?
- How many setups are required?
- Which operations will be done first?
- Facing
- Roughing
- Pocket milling
- Drilling
- Finishing
- What tools are required for each operation?
This planning stage is often called process planning.
4. Select the Work Coordinate System (WCS)
The CNC machine needs a reference point to understand positions. This is called the work zero or program zero.
Common work coordinate systems:
- G54
- G55
- G56
Usually, programmers set G54 at:
- Top-left corner of the job
- Center of the job
- Bottom-left corner (depends on drawing and machine)
👉 Choose a zero point that is easy to measure and repeat.
5. Choose the Cutting Tools

Tool selection depends on:
- Material
- Operation
- Required surface finish
Examples:
- Face mill → facing operation
- End mill → pocket or contour
- Drill bit → holes
- Chamfer tool → chamfering
For each tool, note:
- Tool number (T01, T02, etc.)
- Tool diameter
- Tool length offset number (H01, H02)
- Tool type
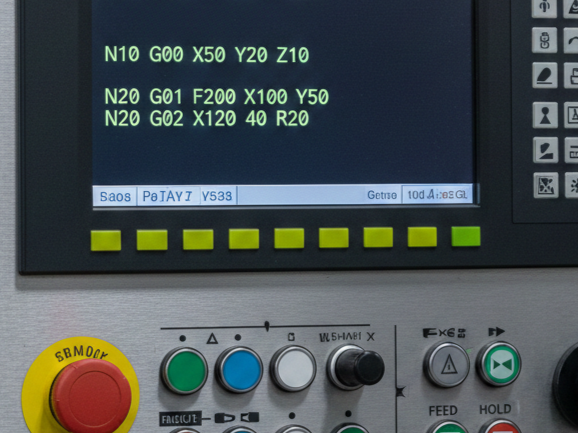
6. Understand Basic G-Codes and M-Codes
To make a CNC program, you must know basic codes.
Common G-Codes:
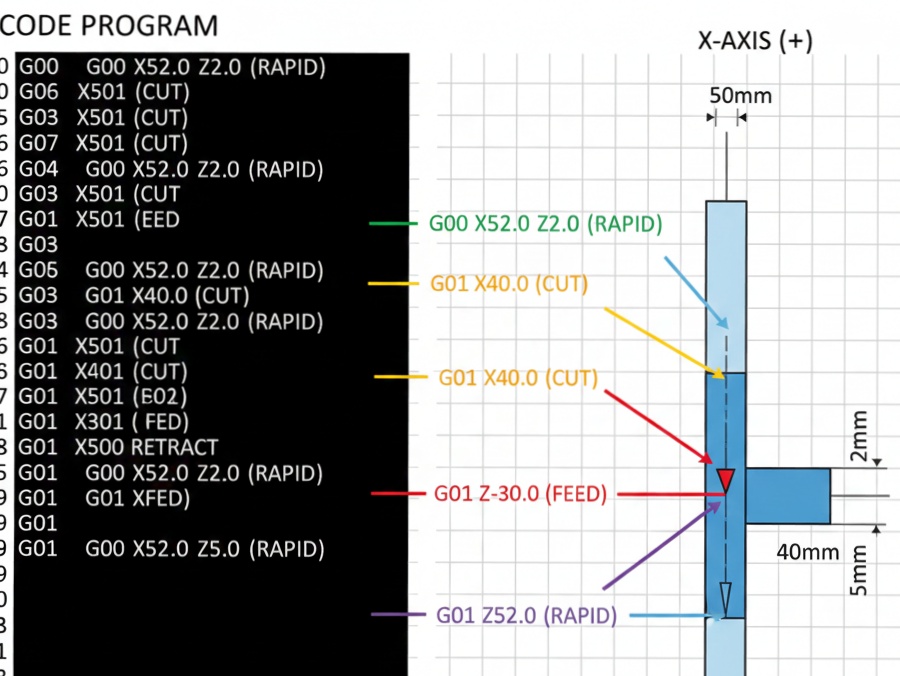
- G00 – Rapid movement
- G01 – Linear cutting movement
- G02 – Circular interpolation (clockwise)
- G03 – Circular interpolation (counter-clockwise)
- G17 – XY plane selection
- G20 / G21 – Inch / Metric units
- G40 – Cancel cutter compensation
- G41 / G42 – Cutter compensation left/right
- G90 – Absolute programming
- G91 – Incremental programming
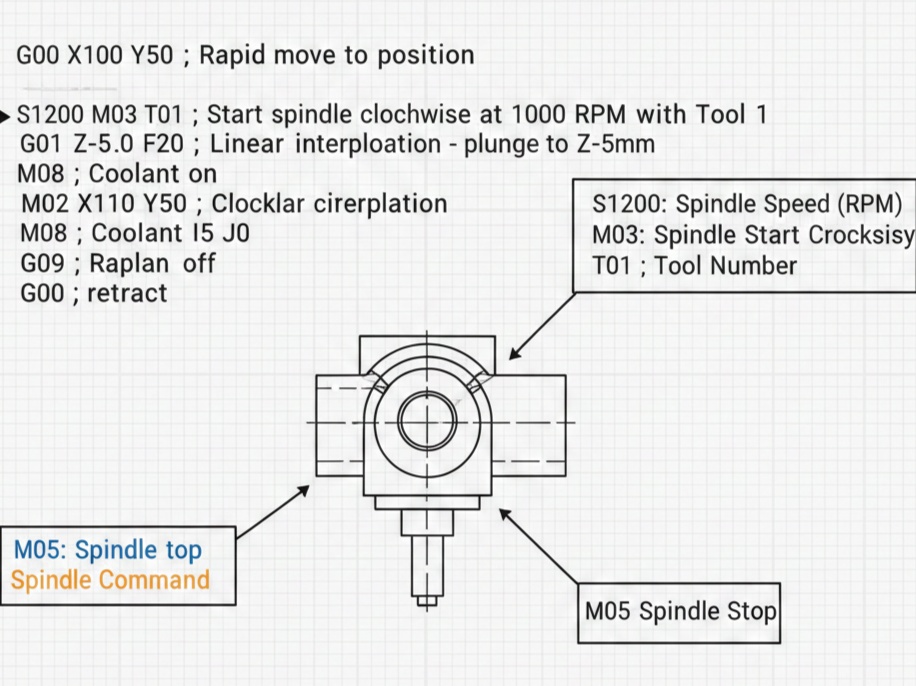
Common M-Codes:
- M03 – Spindle ON (clockwise)
- M04 – Spindle ON (counter-clockwise)
- M05 – Spindle OFF
- M06 – Tool change
- M08 – Coolant ON
- M09 – Coolant OFF
- M30 – End of program & reset
7. Write the CNC Program Structure
A standard CNC program follows a logical structure:
- Program number
- Safety line
- Tool call
- Spindle and coolant ON
- Machining commands
- Spindle and coolant OFF
- Program end
Example of a Simple CNC Milling Program:
%
O1001
G21 G17 G90 G40 G49 G80
T01 M06
G54
S1500 M03
G00 X0 Y0
G00 Z5
G01 Z-2 F100
G01 X50 Y0 F200
G01 X50 Y50
G01 X0 Y50
G01 X0 Y0
G00 Z50
M05
M09
M30
%
This program mills a simple square pocket.
8. Calculate Feeds and Speeds
Feeds and speeds are very important for tool life and surface finish.
Key factors:
- Material
- Tool diameter
- Tool material (HSS, carbide)
- Machine capability
Typical parameters:
- Spindle speed (RPM) – Controlled by S-code
- Feed rate (mm/min) – Controlled by F-code
👉 Always start with safe values if you are unsure.
9. Use Absolute or Incremental Programming
There are two programming methods:
Absolute Programming (G90)
- All dimensions are measured from the program zero.
- Easier and safer for beginners.
- Most commonly used.
Incremental Programming (G91)
- Each move is relative to the previous position.
- Useful in repetitive patterns.
Most CNC programmers prefer G90 (Absolute mode).
10. Simulate and Dry Run the Program
Before cutting the actual job:
- Simulate the program using CNC simulation software (like Fusion 360, NC Viewer).
- Check tool paths for errors.
- Do a dry run on the machine (without material or above the job).
This step helps prevent:
- Tool breakage
- Machine crashes
- Costly mistakes
11. Run the Program on the Machine
After verification:
- Load the program into the CNC controller.
- Set work offsets (G54).
- Set tool offsets.
- Clamp the job properly.
- Run the program at low feed rate initially.
👉 Stay alert during the first run.
12. Improve and Optimize the Program
Once the part is successfully machined:
- Optimize feed rates
- Reduce unnecessary movements
- Improve cycle time
- Add comments for clarity
Well-written CNC programs are:
- Easy to read
- Safe
- Efficient
- Reusable
Learning how to make a CNC program is a step-by-step process that combines drawing interpretation, machining knowledge, and G-code skills. By understanding the component, planning operations, selecting tools, writing structured code, and testing carefully, anyone can become a confident CNC programmer.
Whether you are a student, machinist, or beginner, regular practice and real-machine experience will help you master CNC programming. Start with simple programs, learn from mistakes, and gradually move to complex jobs.